How I put ChatGPT into a WYSIWYG editor
With all the hype going on, AI (or rather Machine Learning (ML) and Large Language Models (LLMs) are everywhere. Personally, I might not use ChatGPT (and similar alternatives) much, but I sure do rely on likes of GitHub Copilot (for intelligent autocompletion in VS Code), or Grammarly (for editing my blog posts) every day.
I think we’re still quite a few breakthroughs away from AGI and current technology won’t be enough to get us there (thankfully or not). That said, we’re already deep into the times of “AI-enhanced” apps, where the apps at the top may not have the best AI systems, but they integrate them in the best possible way.
That’s why it was an interesting process, exploring OpenAI’s API and trying to integrate it into the Rich Text Editor (RTE) of Vrite — my open-source headless CMS.
Extending the WYSIWYG Editor
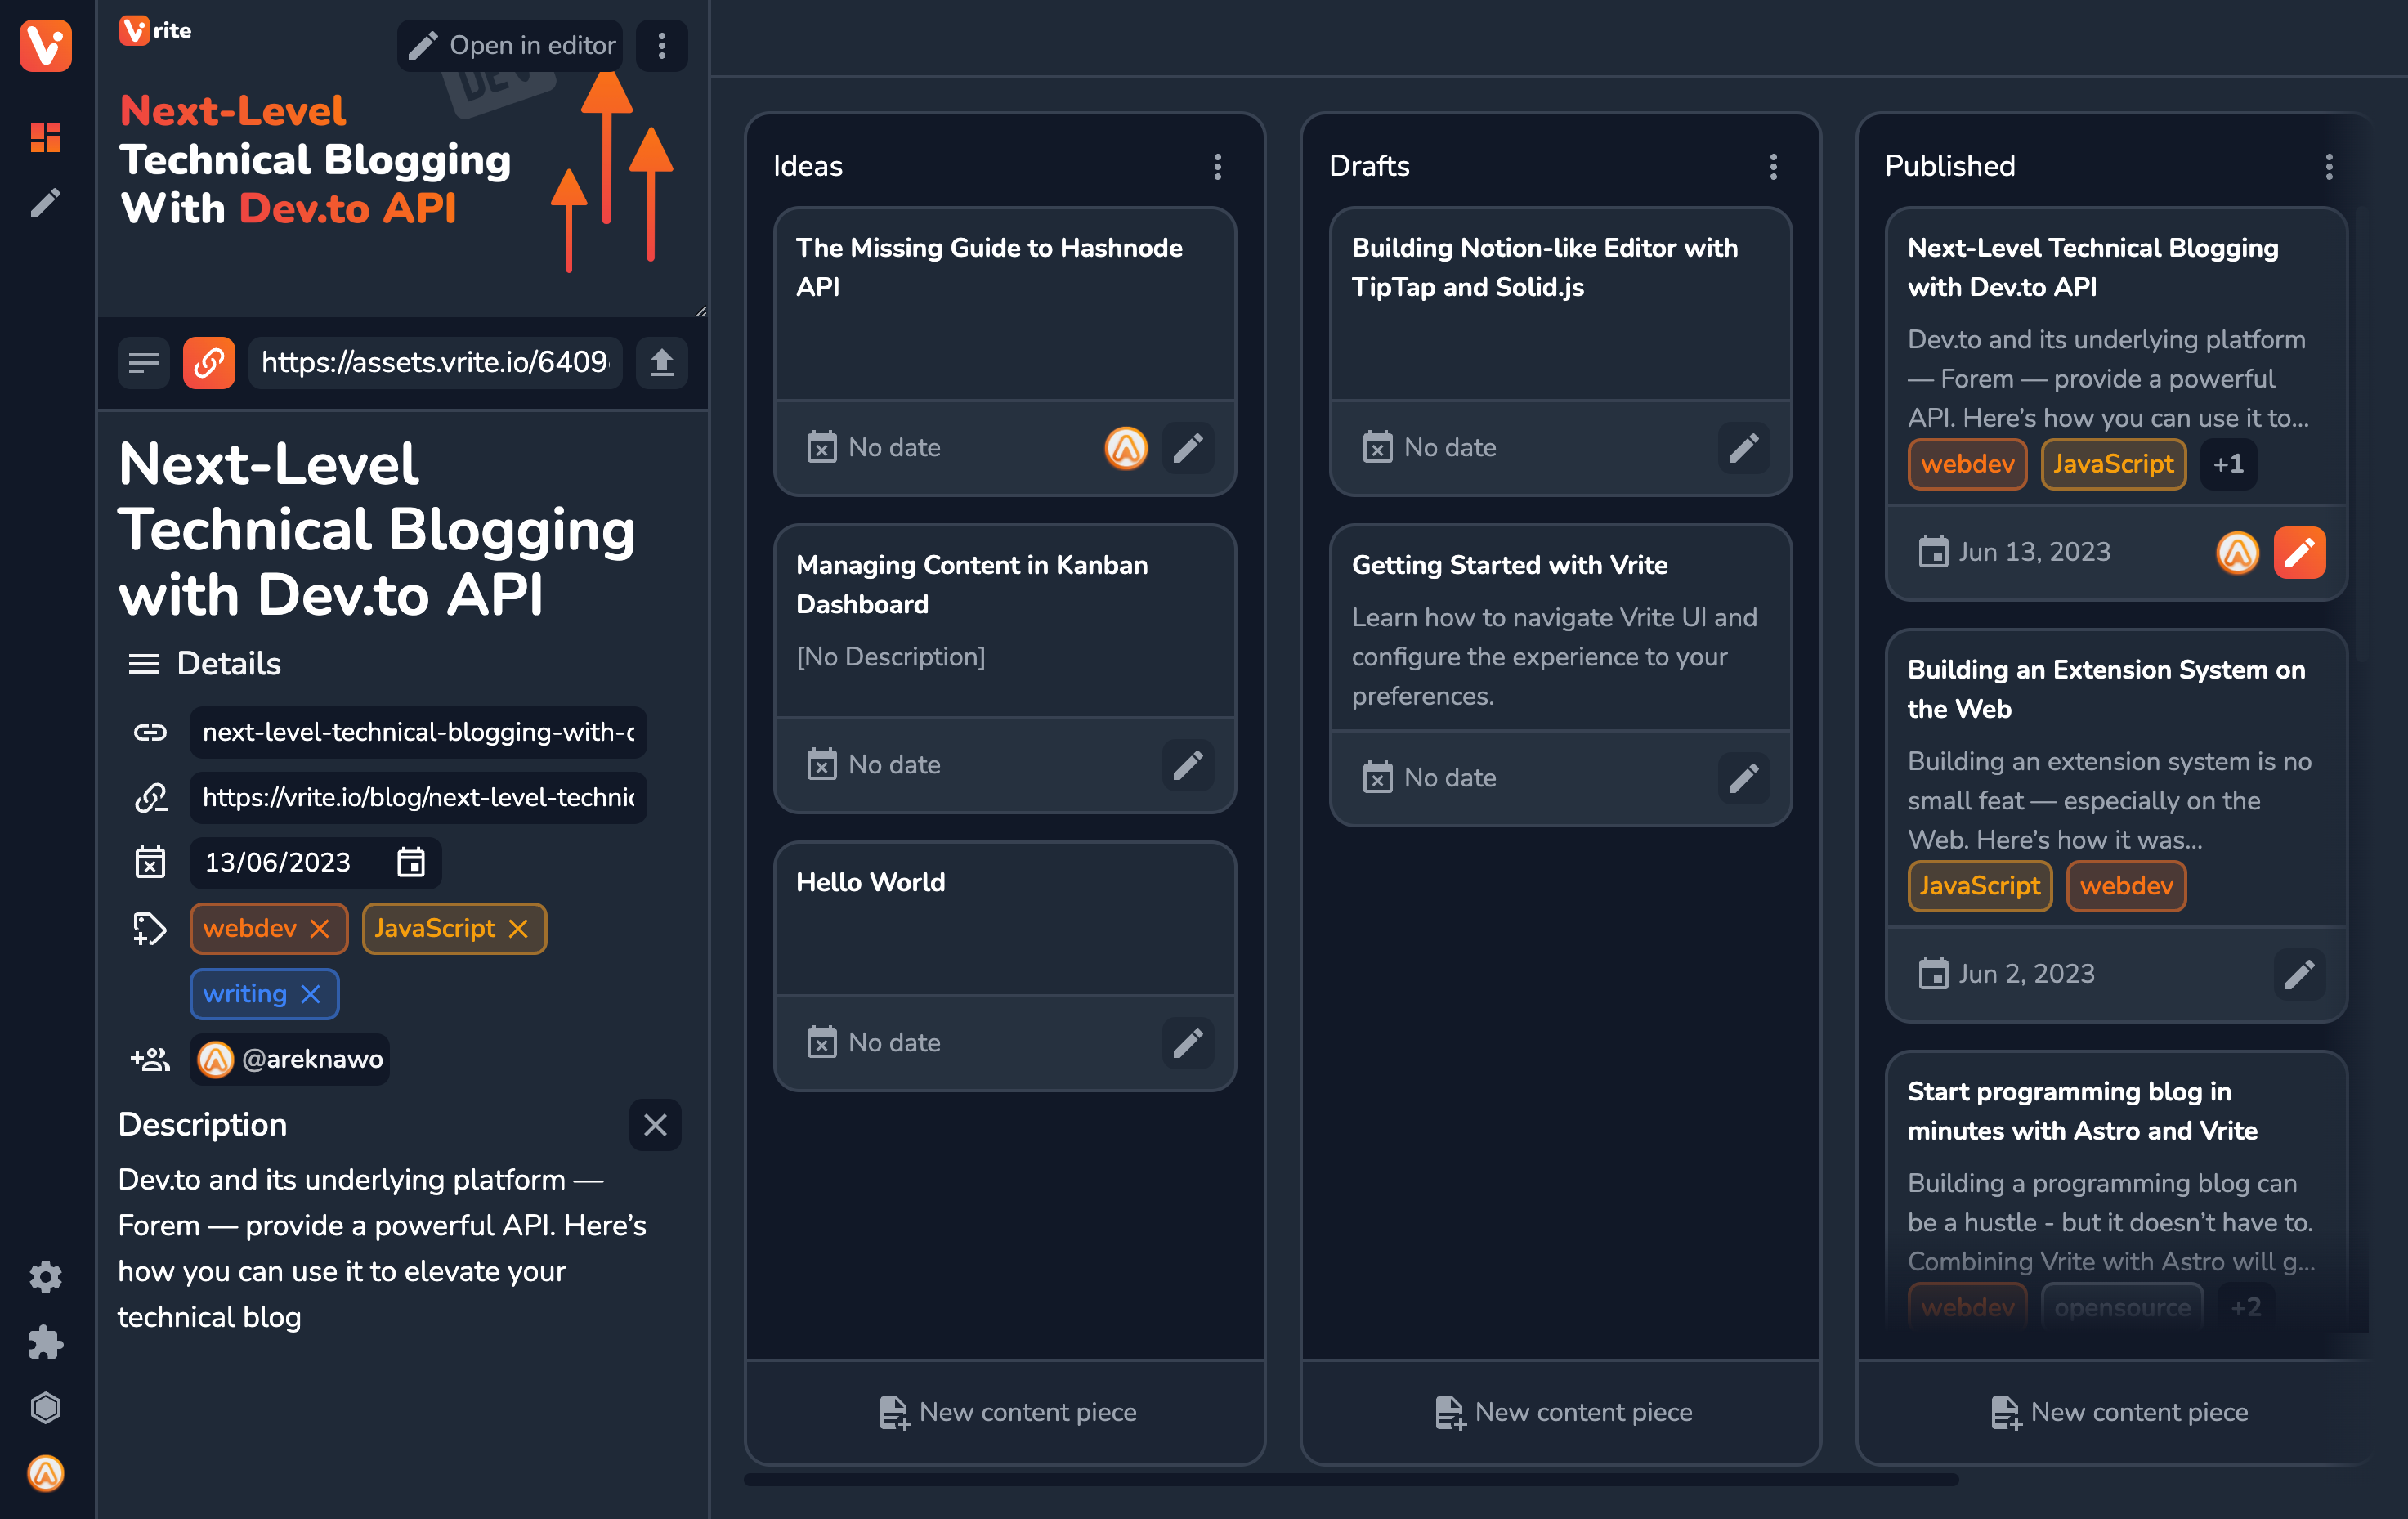
For those unfamiliar Vrite, in a nutshell, is a headless CMS for technical content, like programming blogs or software docs. It can be viewed as two apps in one — Kanban dashboard for content management and WYSIWYG editor for writing, with additional dev-friendly features like embedded code snippet editor and formatter.
The latest big addition to Vrite is an early extension system, to easily build integrations and extend what Vrite can do. This, to me, seemed like the perfect way to introduce ChatGPT into the editor — as an extension.
Block Actions
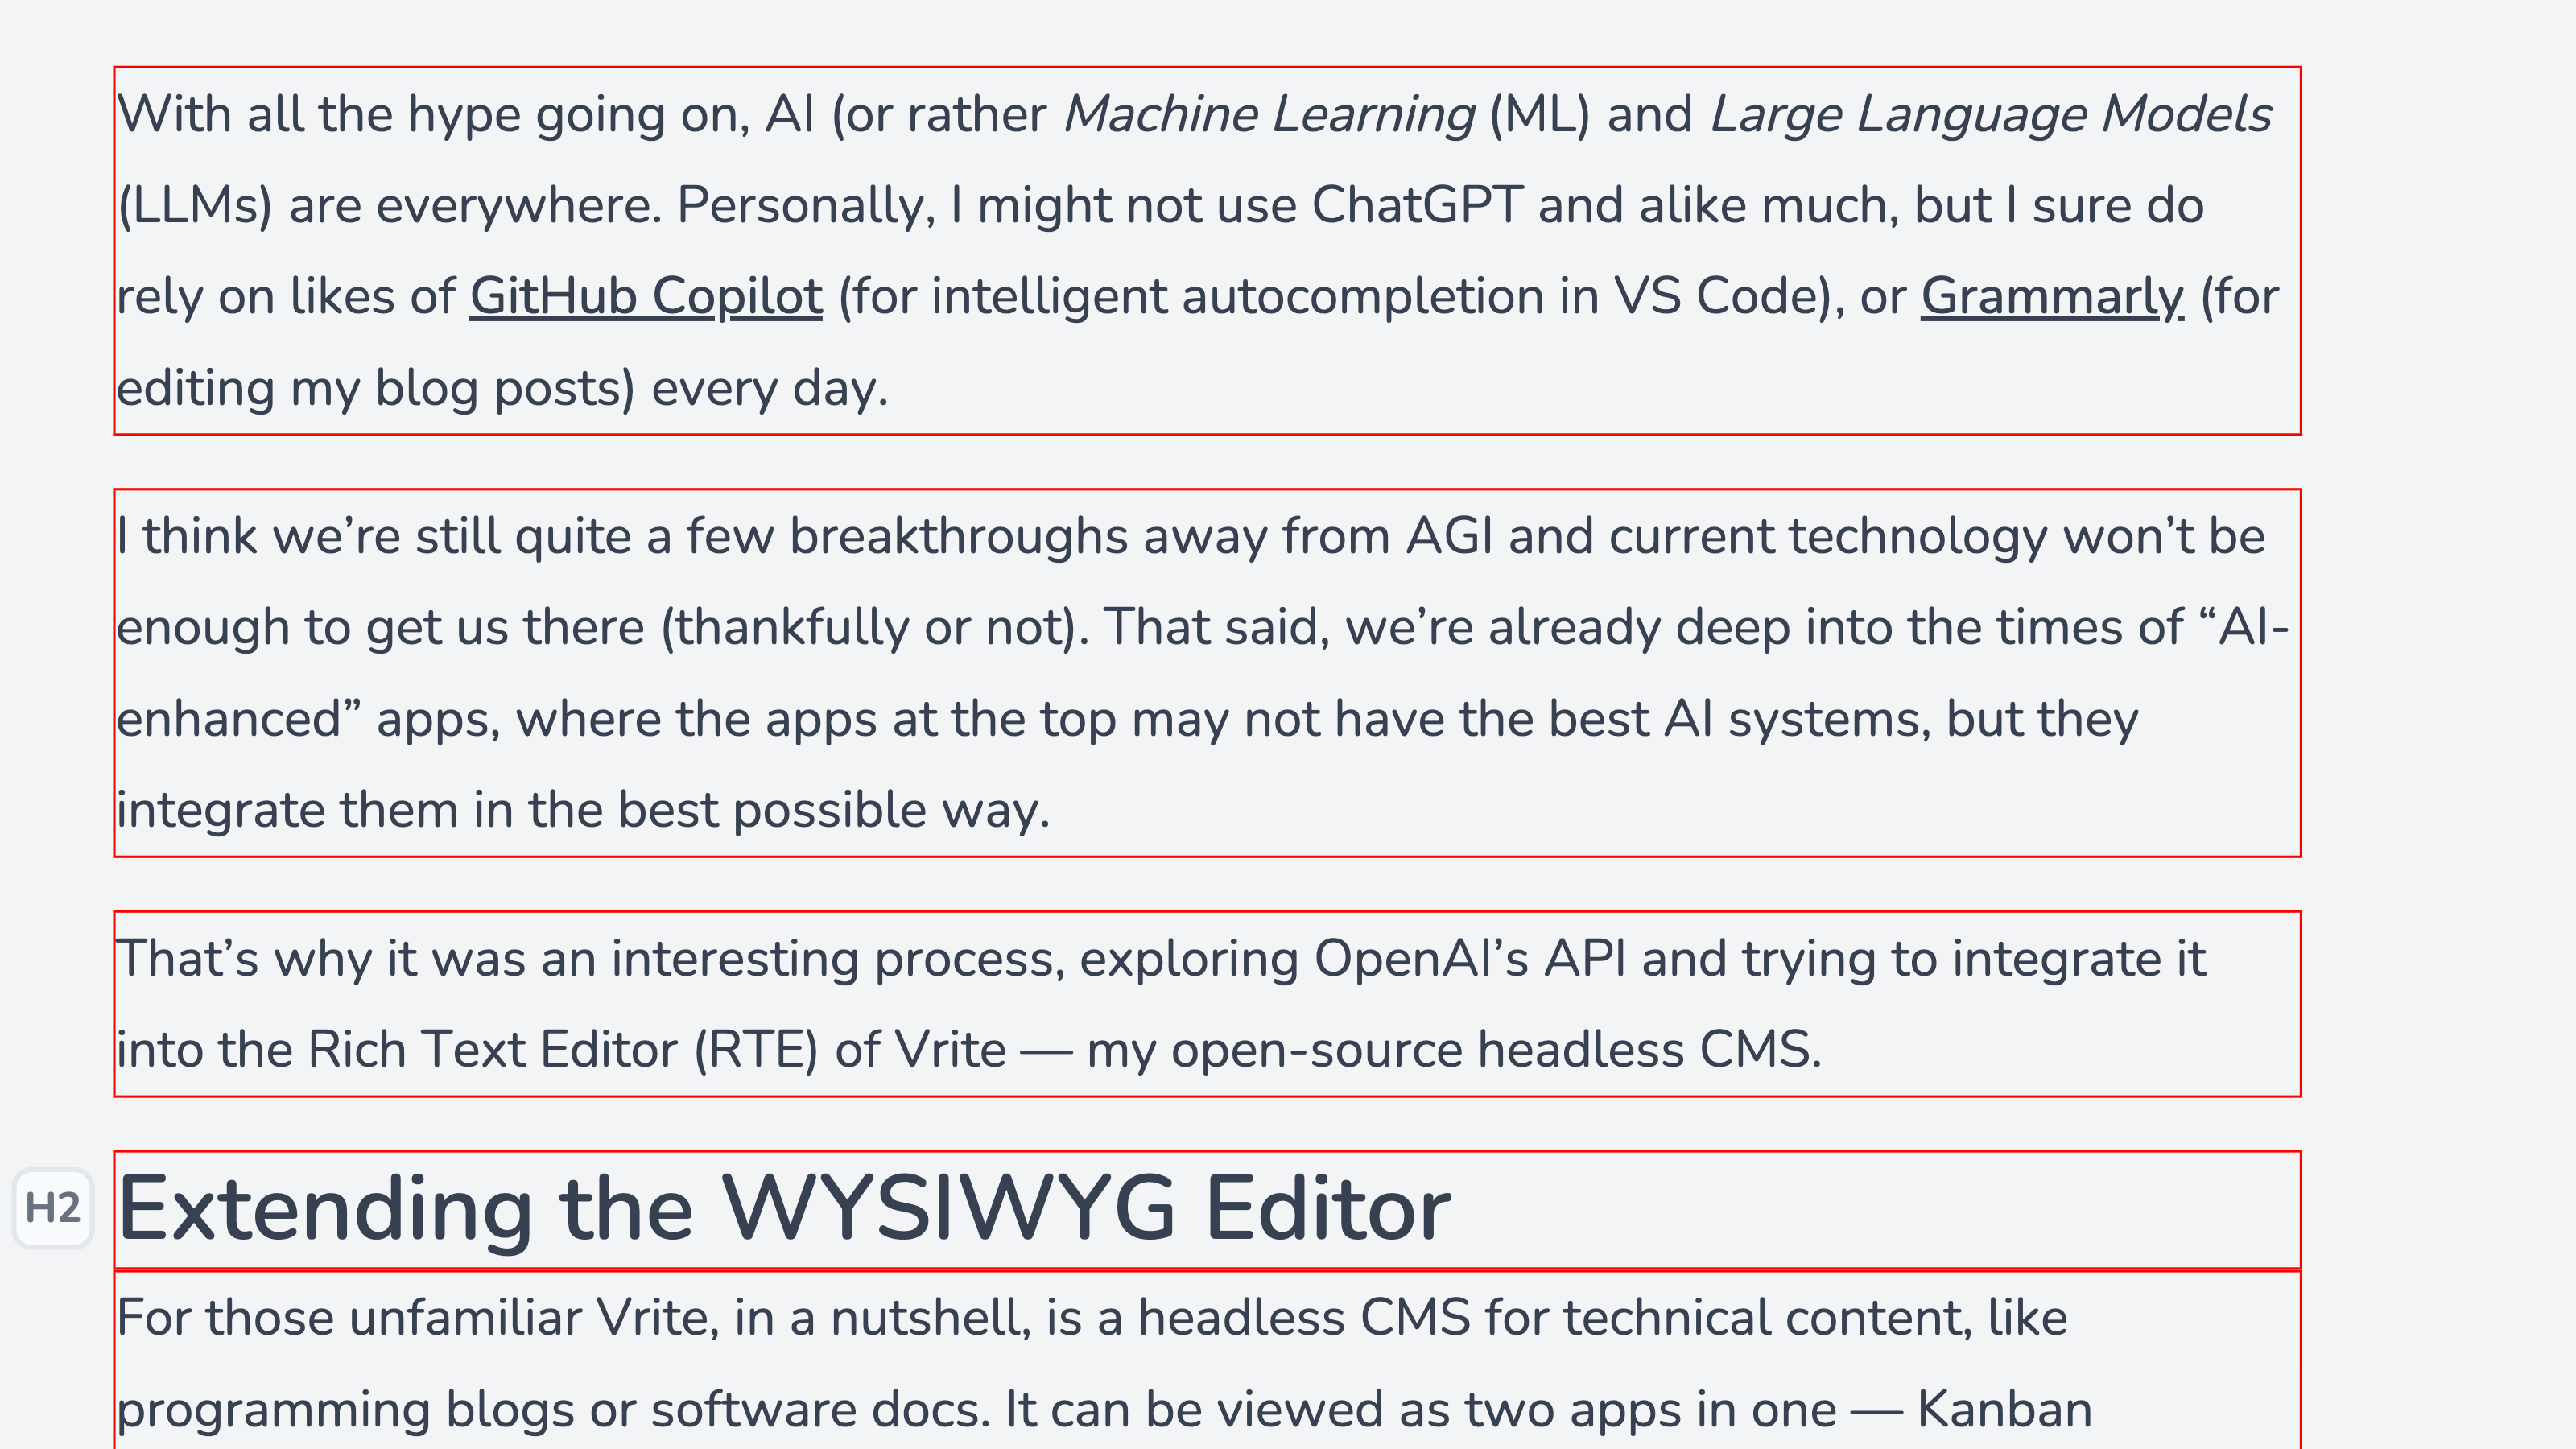
To be able to use the extension system for integrating ChatGPT into the editor, a new API had to be introduced. I called it Block Action API since its specifically meant for adding quick actions to the editor, that operate on top-level content blocks, like paragraphs, headings, or images, as is highlighted below:

With Block Actions API, extensions can read the JSON content of the active block and update it with HTML-formatted content, just like it’s done in Vrite API (on one end, parsing JSON output is easier while, on the other, HTML is more suitable to transform content into).
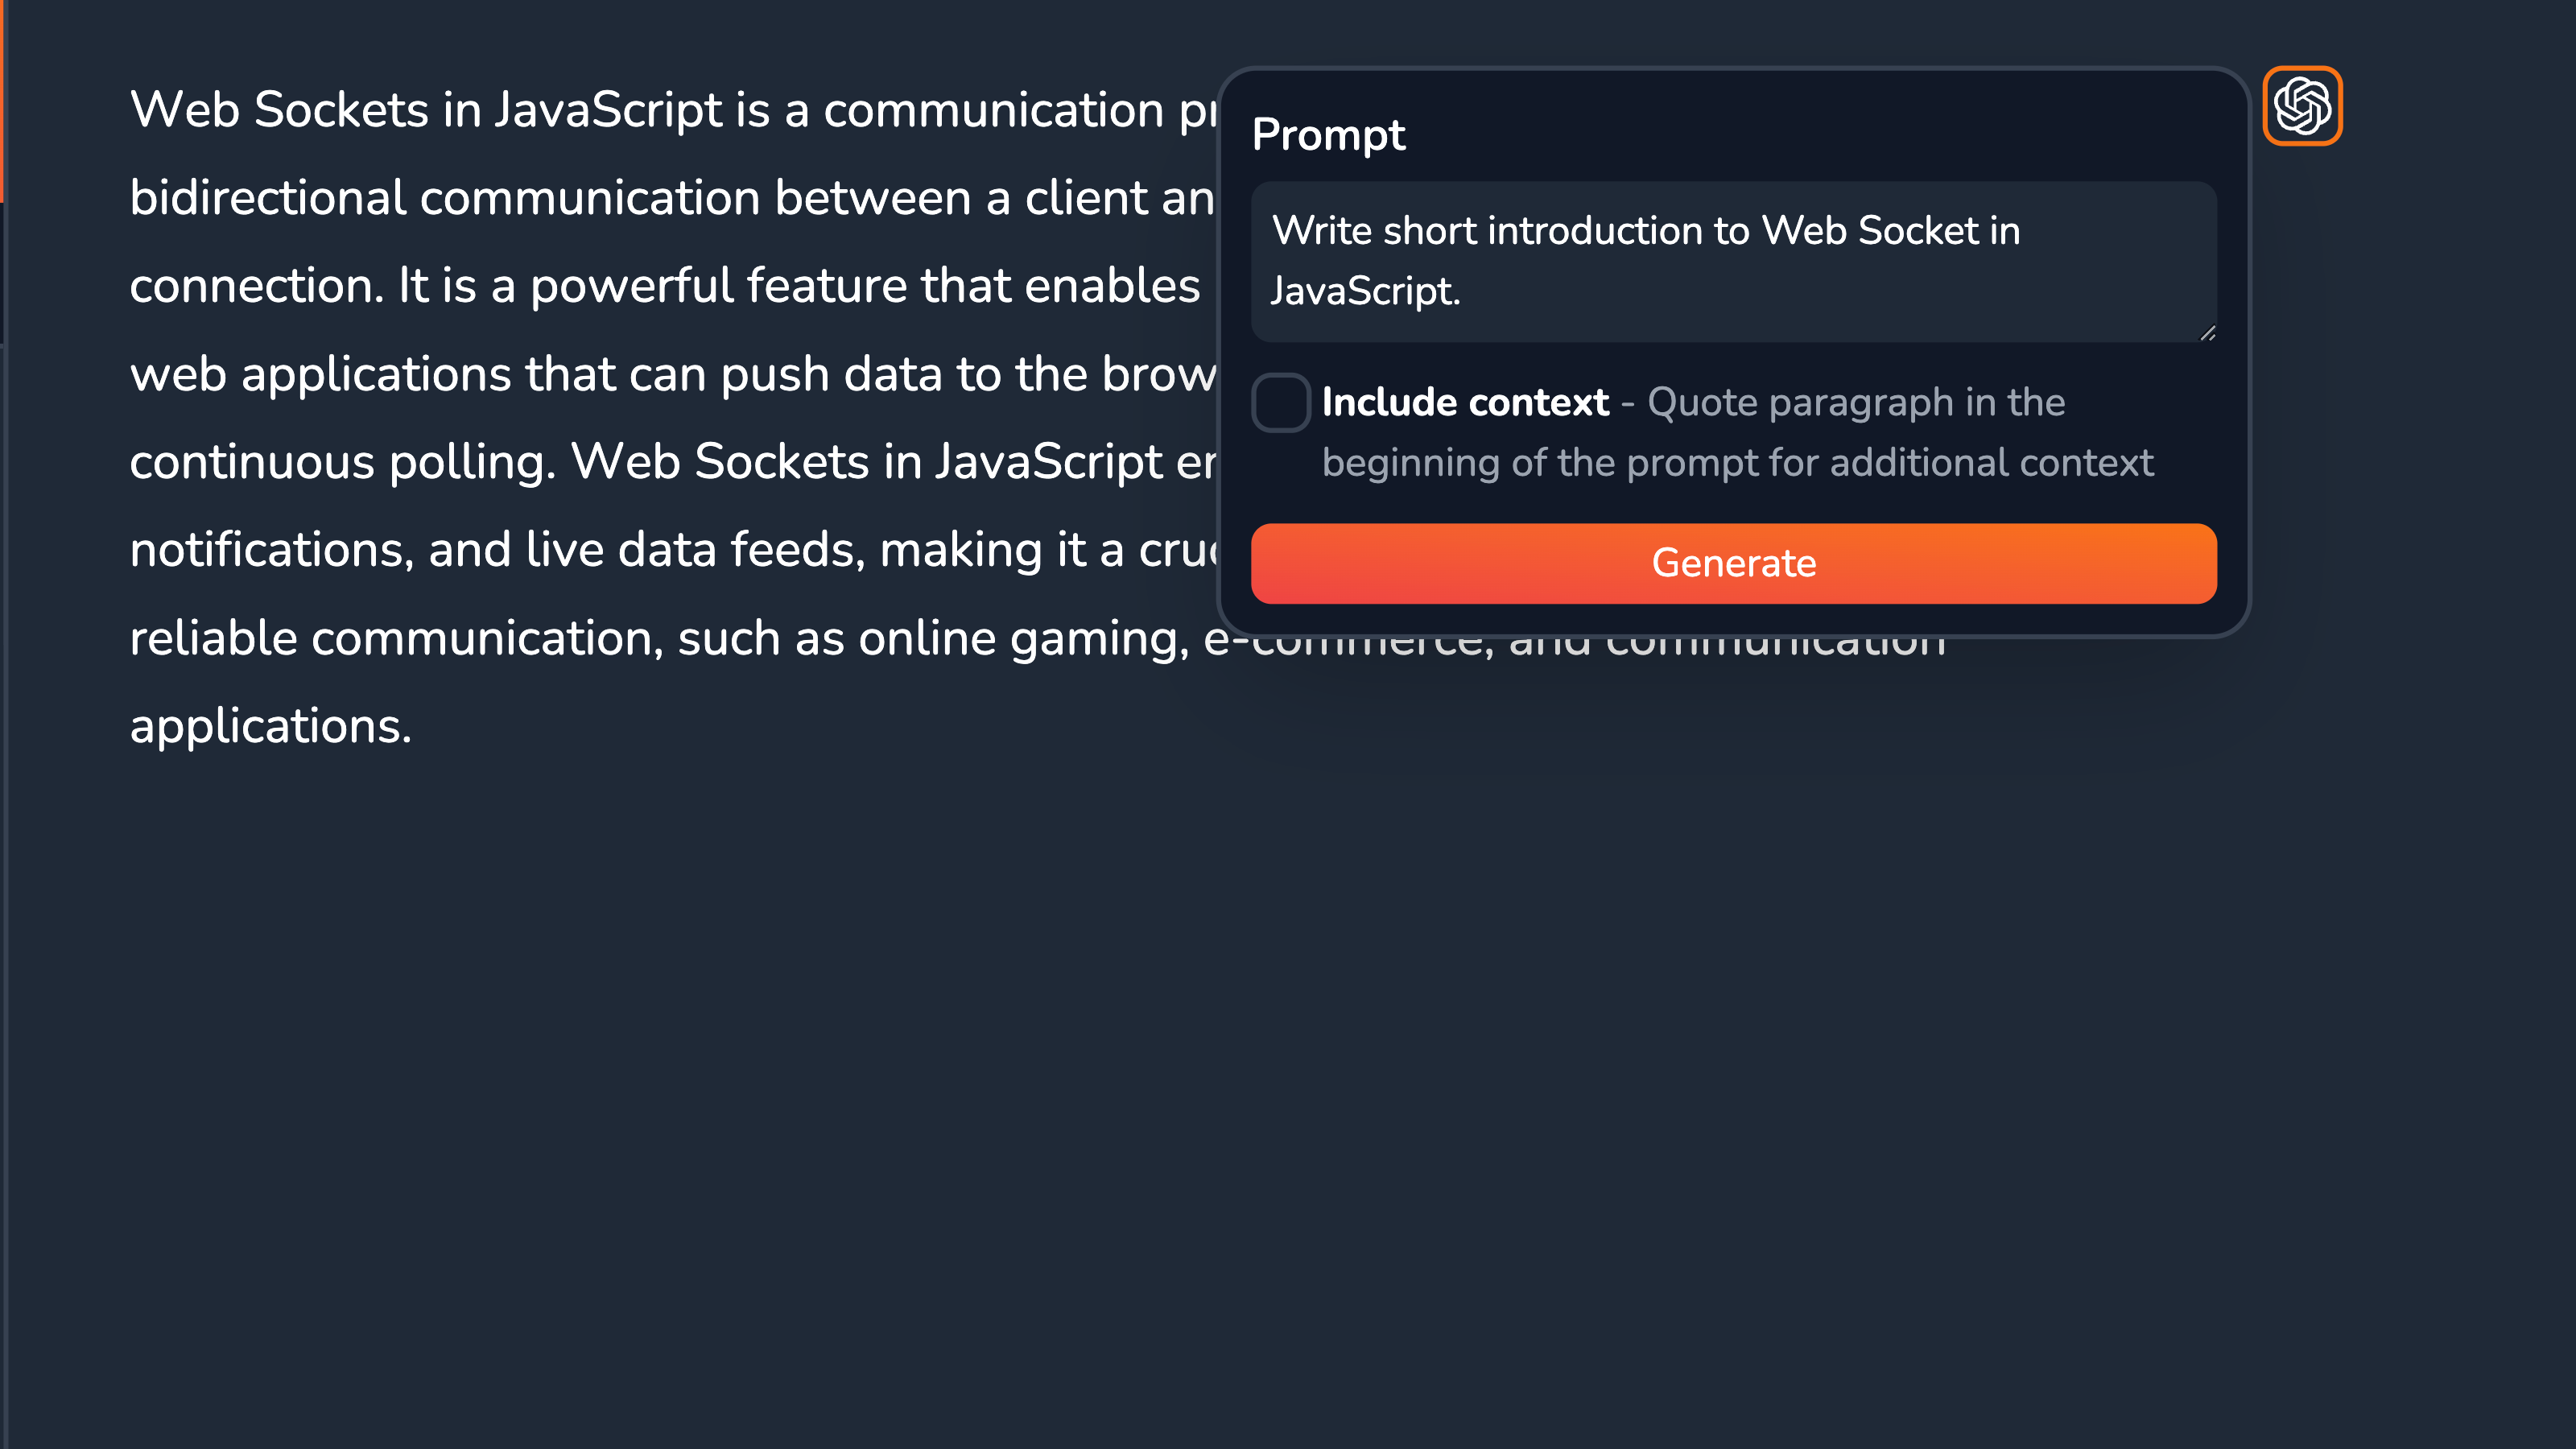
From the UI side, Block Actions are displayed as buttons on the side of the actively-selected block. They can either invoke an action directly on click or — like with ChatGPT — open a dropdown menu to prompt the user for more details.

The buttons had to be absolutely positioned, which required both a custom TipTap extension and tapping deeper into the underlying ProseMirror (both libraries powering the Vrite editor).
The process basically came down to figuring out the position and size of the block node, given a selection of an entire top-level node or just its child node (source code):
// ...
const BlockActionMenuPlugin = Extension.create({
  // ...
  onSelectionUpdate() {
    const { selection } = this.editor.state;
    const isTextSelection = selection instanceof TextSelection;
    const selectedNode = selection.$from.node(1) || selection.$from.nodeAfter;

    if (!selectedNode) {
      box.style.display = 'none';
      return;
    }

    const { view } = this.editor;
    const node =
      view.nodeDOM(selection.$from.pos) ||
      view.nodeDOM(selection.$from.pos - selection.$from.parentOffset) ||
      view.domAtPos(selection.$from.pos)?.node;

    if (!node) return;

    const blockParent = getBlockParent(node);
    const parentPos = document
      .getElementById('pm-container')
      ?.getBoundingClientRect();
    const childPos = blockParent?.getBoundingClientRect();

    if (!parentPos || !childPos) return;

    const relativePos = {
      top: childPos.top - parentPos.top,
      right: childPos.right - parentPos.right,
      bottom: childPos.bottom - parentPos.bottom,
      left: childPos.left - parentPos.left,
    };

    let rangeFrom = selection.$from.pos;
    let rangeTo = selection.$to.pos;

    box.style.top = `${relativePos.top}px`;
    box.style.left = `${relativePos.left + parentPos.width}px`;
    box.style.display = 'block';

    if (isTextSelection) {
      try {
        const p = findParentAtDepth(selection.$from, 1);
        rangeFrom = p.start - 1;
        rangeTo = p.start + p.node.nodeSize - 1;
      } catch (e) {
        box.style.display = 'none';
      }
    }

    // ...
  },
});
Replacing Editor Content
The second part involved handling the actual process of replacing the block’s content with the newly provided one. The trickiest thing to figure out here was to get the correct range (the start and end position in ProseMirror) of the block node. This was necessary to then use TipTap’s commands to properly replace the range.
If you’ve taken a closer look at the last code snippets — the code for that was already there. The block’s range was updated, together with the Block Action UI positioning, on every selection update.
The actual replacement of the range with new content was much easier to do. All there was to it was converting the HTML to Schema-adherent JSON and involving proper commands (source code):
// ...
const replaceContent = (content) => {
  unlock.clear();
  setLocked(true);
  if (range()) {
    let size = 0;
    const nodeOrFragment = createNodeFromContent(
      content,
      props.state.editor.schema
    );

    if (nodeOrFragment instanceof PMNode) {
      size = nodeOrFragment.nodeSize;
    } else {
      size = nodeOrFragment.size;
    }
    props.state.editor
      .chain()
      .focus()
      .insertContentAt(
        range()!,
        generateJSON(content, props.state.editor.extensionManager.extensions)
      )
      .scrollIntoView()
      .focus()
      .run();
    setRange({ from: range()!.from, to: range()!.from + size - 1 });
    computeDropdownPosition()();
  }
  unlock();
};
// ...
The replaceContent() function could then be called remotely, from the extension’s sandbox, by sending a proper message to the main frame.
To enable use-cases like ChatGPT integrations, where the content will be updated (i.e. replaced) multiple times in a row before the process is finished, the function also locked the editor for a short time of the function being called and updated the range, and UI positioning on every call. But why was this required?
Integrating With OpenAI’s API
The process of integrating OpenAI’s API is pretty well-documented in its official docs. Given that an official SDK is provided, the entire process can be done in just a few lines of code:
async ({ ctx, input }) => {
  const configuration = new Configuration({
    apiKey: ctx.fastify.config.OPENAI_API_KEY,
    organization: ctx.fastify.config.OPENAI_ORGANIZATION,
  });
  const openai = new OpenAIApi(configuration);
  const response = await openai.createChatCompletion({
    model: 'gpt-3.5-turbo',
    messages: [{ role: 'user', content: input.prompt }],
  });
};
Now, all that is true, but only if you’re willing to wait what often is +20s for a single response! That’s a lot for a single request. Nothing from changing the server location to optimizing the request by limiting max_tokens or customizing other parameters worked. It all comes down to the fact that current-day LLMs (those on the level of GPT-3 at least) are still rather slow.
With that said, the ChatGPT app still manages to be perceived as fairly fast and responsive. That’s thanks to the use of streaming and Server-Sent Events (SSEs).
Streaming ChatGPT Response
The chat completion and other endpoints of OpenAI’s API support streaming through Server-Sent Events, essentially maintaining an open connection through which the new tokens are sent as soon as they’re available.
Unfortunately, the official Node.js SDK doesn’t support streaming and requires you to use workarounds to get it working, resulting in much more code required, just to connect with the API (source code):
async ({ ctx, input }) => {
  const configuration = new Configuration({
    apiKey: ctx.fastify.config.OPENAI_API_KEY,
    organization: ctx.fastify.config.OPENAI_ORGANIZATION,
  });
  const openai = new OpenAIApi(configuration);
  const response = await openai.createChatCompletion(
    {
      model: 'gpt-3.5-turbo',
      stream: true,
      messages: [{ role: 'user', content: input.prompt }],
    },
    { responseType: 'stream' }
  );
  ctx.res.raw.writeHead(200, {
    ...ctx.res.getHeaders(),
    'content-type': 'text/event-stream',
    'cache-control': 'no-cache',
    connection: 'keep-alive',
  });

  return new Promise<void>((resolve) => {
    const responseData = response.data as unknown as {
      on(event: string, data: (data: string) => void): void;
    };

    responseData.on('data', (data) => {
      const lines = data
        .toString()
        .split('\n')
        .filter((line) => line.trim() !== '');
      for (const line of lines) {
        const message = line.replace(/^data: /, '');
        if (message === '[DONE]') {
          ctx.res.raw.end();
          resolve();
          continue;
        }
        try {
          const parsed = JSON.parse(message);

          const content = parsed.choices[0].delta.content || '';

          if (content) {
            ctx.res.raw.write(`data: ${encodeURIComponent(content)}`);
            ctx.res.raw.write('\n\n');
          }
        } catch (error) {
          console.error('Could not JSON parse stream message', message, error);
        }
      }
    });
  });
};
On top of that, you also have to support streaming on your end, between your API server and web client which, in the case of Vrite, meant integrating SSEs with Fastify and tRPC. Not the cleanest solution, but pretty stable nonetheless.
From the frontend (the extension sandbox to be precise), a connection with the new streaming endpoint has to be established and incoming data — correctly processed (source code):
import { fetchEventSource } from "@microsoft/fetch-event-source";
// ...

const generate = async (context: ExtensionBlockActionViewContext): Promise<void> => {
  const includeContext = context.temp.includeContext as boolean;
  const prompt = context.temp.prompt as string;

  let content = "";

  context.setTemp("$loading", true);
  window.currentRequestController = new AbortController();
  window.currentRequestController.signal.addEventListener("abort", () => {
    context.setTemp("$loading", false);
    context.refreshContent();
  });
  await fetchEventSource("https://extensions.vrite.io/gpt", {
    method: "POST",
    headers: {
      "Content-Type": "application/json",
      "Accept": "text/event-stream"
    },
    body: JSON.stringify({
      prompt: includeContext ? `"${gfmTransformer(context.content)}"\n\n${prompt}` : prompt
    }),
    signal: window.currentRequestController?.signal,
    async onopen() {
      return;
    },
    onerror(error) {
      context.setTemp("$loading", false);
      context.refreshContent();
      context.notify({ text: "Error while generating content", type: "error" });
      throw error;
    },
    onmessage(event) {
      const partOfContent = decodeURIComponent(event.data);

      content += partOfContent;
      context.replaceContent(marked.parse(content));
    },
    onclose() {
      context.setTemp("$loading", false);
      context.refreshContent();
    }
  });
};
The EventSource Web API for handling SSEs (built into most modern browsers) unfortunately supports only GET requests, which was quite limiting when a POST request with larger body JSON data was required. As an alternative, you can use the Fetch API or a ready library like Microsoft’s Fetch Event Source.
Again, with streaming enabled, you’ll now receive new tokens as soon as they’re available. Given that OpenAI’s API uses Markdown in its response format, a full message will need to be put together from the incoming tokens and parsed to HTML, as accepted by the replaceContent function. For this purpose, I’ve used the Marked.js parser.
Now, with each new token, the larger response is being built up. Every time a new token comes, the full Markdown is parsed and the content updated, making for a nice “typing-like effect”.
While this process does have some overhead, it’s not noticeable in use, while the Markdown simply has to be parsed with each new token, as it may contain e.g. the closing of the code block, or the end of the formatted segment. So, while this process could potentially be optimized, it wouldn’t lead to any recognizable performance improvement in the majority of cases.
Finally, worth noting is the use of AbortController, which can be used to stop the stream at any time the user chooses to. That’s especially great for longer responses.

Bottom Line
In general, I’m very happy with how this turned out. Data streaming, nice typing effect, and good integration with the editor’s existing content blocks thanks to Markdown parsing — all came together to create a compelling User Experience.
Now, there’s certainly room for improvement. The Block Actions API, as well as the Vrite Extensions as a whole still have a lot of development work ahead of them before they can be created by other users. Other UI/UX improvements to consider, like operating on multiple blocks at once (e.g. for additional context for ChatGPT) and displaying UI inline (much like Notion AI) not to obscure the view are just a few examples of what I was considering. That said, it’ll take some more time to implement these ideas well.

Vrite is much more than just a GPT-enhanced editor. It’s a full, open-source CMS focused on technical content like programming blogs, with a code editor, API, Kanban management dashboard included and easy publishing integrations included. So, if you’re interested in trying it out and possibly using it to power your blog, definitely check it out!
🌟 Star Vrite on GitHub — https://github.com/vriteio/vrite
🐞 Report bugs — https://github.com/vriteio/vrite/issues
🐦 Follow on Twitter — https://twitter.com/vriteio
💬 Join Vrite Discord — https://discord.gg/yYqDWyKnqE
ℹ️ Learn more about Vrite — https://vrite.io
📕 Vrite documentation — https://docs.vrite.io